Air Venturi Avenger / Umarex Origin Barrel removal
- Posted on
- By Dirk
- Posted in Air Venturi, Maintainance, Umarex
- 0
For periodical maintainance, reparation or to undo a jam, knowing how to dissasemble certain parts of your rifle is always a useful skill.
In this article, we're going to explain how to remove the barrel from your Air Venturi Avenger, Umarex Origin, and similar rifles.
Why disassemble the barrel?
Accidental double loading may cause the magazine to jam.
This is because a pellets is stuck between the barrel and the magazine.
One method of releasing the magazine is to disassemble the barrel.
To do this you only need some Allen keys and a little elbow grease.
Keep in mind that tinkering or dissasembly of a rifle might void the warranty.
Work safely!
It sounds needless to say, to keep safety in mind when working on items like this.
These rifles are not toys. So besides wearing eye/earprotection when working with PCP rifles, always keep in mind to do the seemlingly unecassary precautions when taking them apart.
And if you ever get stuck or when you are in doubt, do contact us and we'll help you any way we can!
To make the gun safe, we're going to relieve the pressure.
This is done via the small set-screw on the bottom of the rifle.
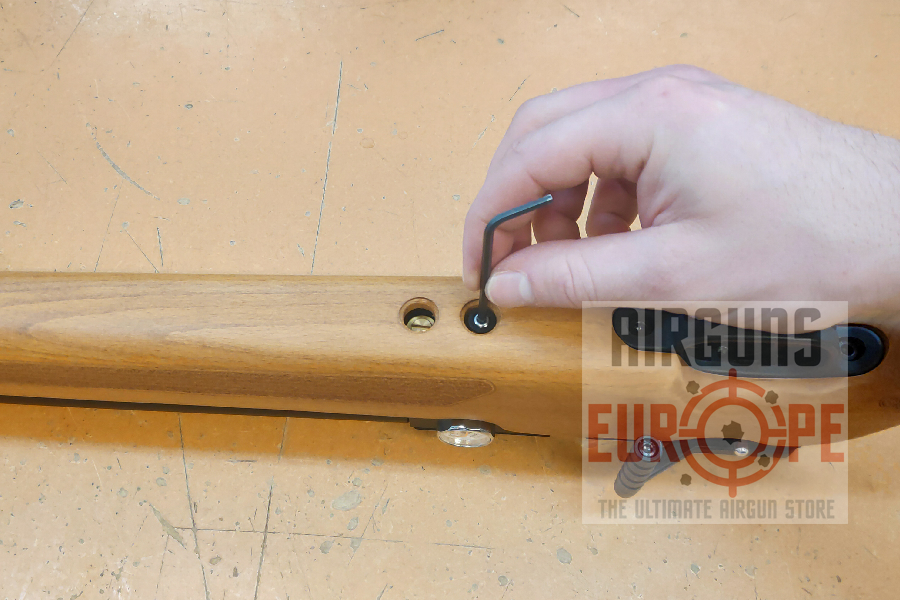
After this, we can continue with the removal of the barrel.
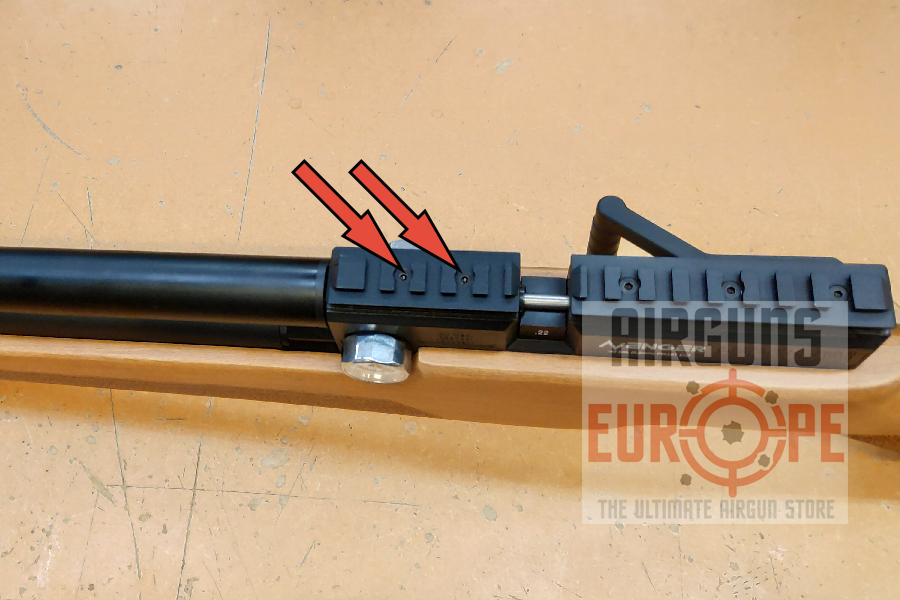
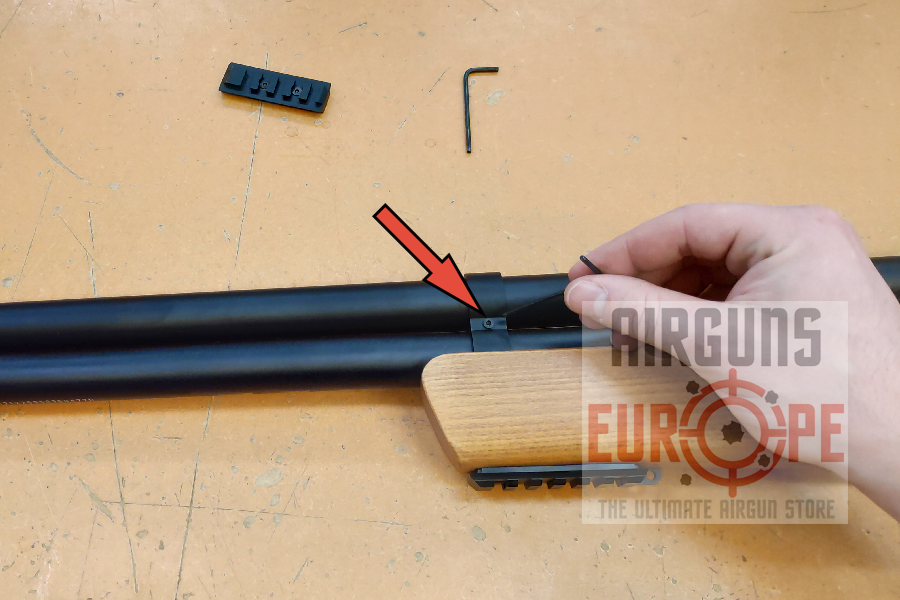
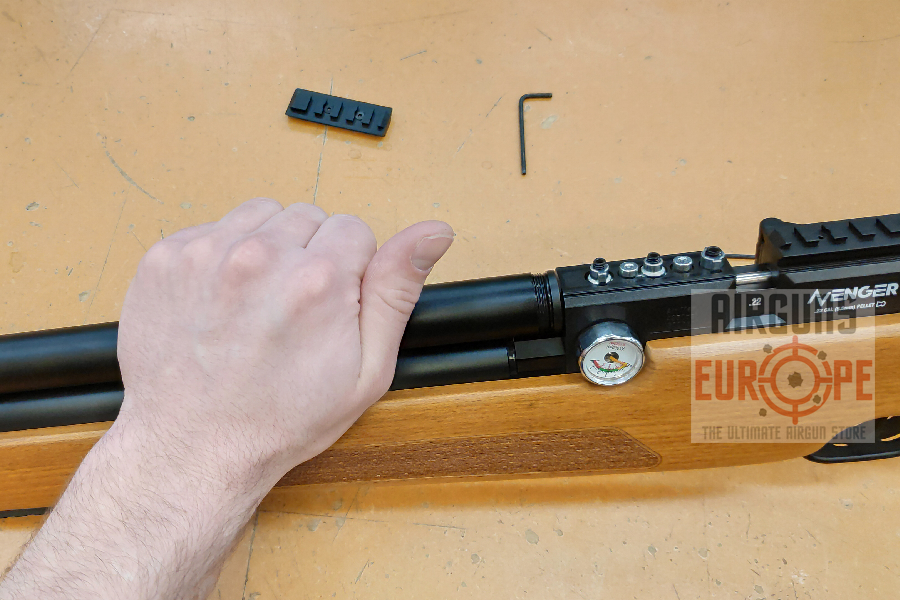
Step 1: Removing the rails
To get to the barrel, we first remove the short picatinny rails on top of the rifle.
This is done by removing 2 small screws.
After this, 3 other screws will apears. These hold the barrel in place.
After loosening/removing these, we can move to the next step.
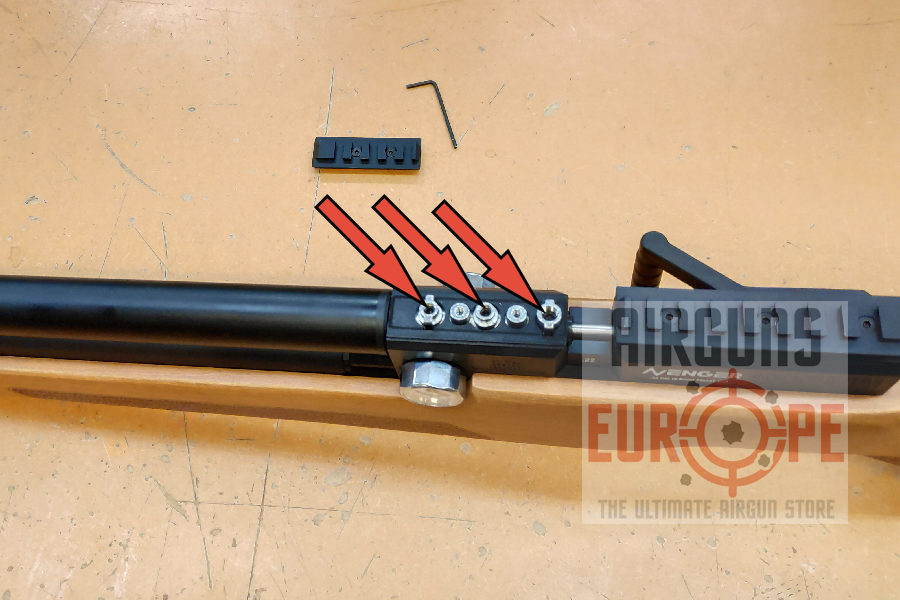
After this, we can remove the shroud..
Technically this is not necassary, but it can prevent damage when removing the barrel.
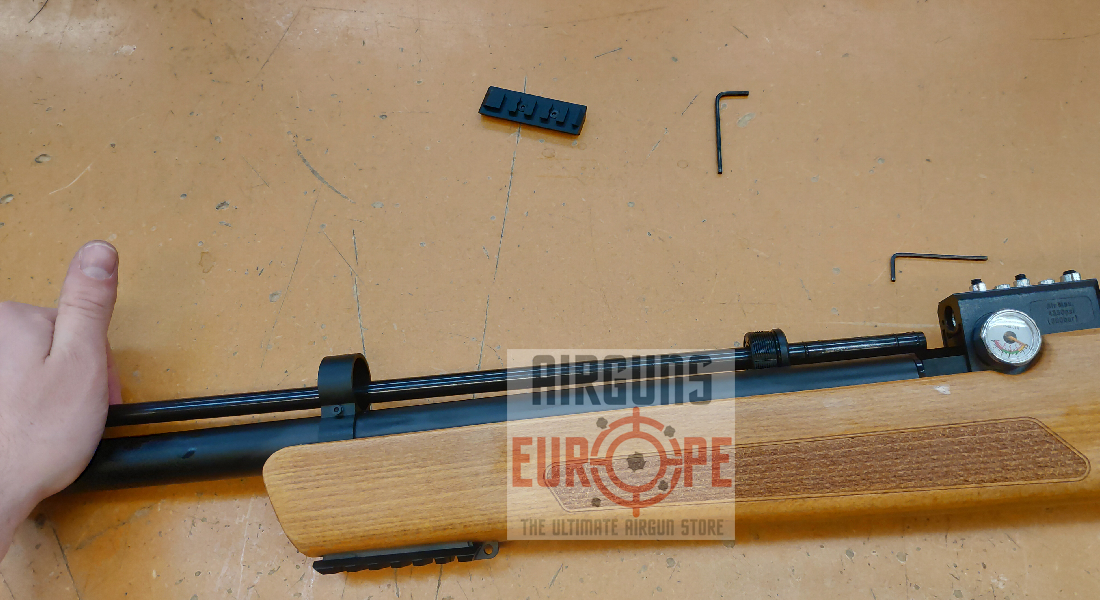
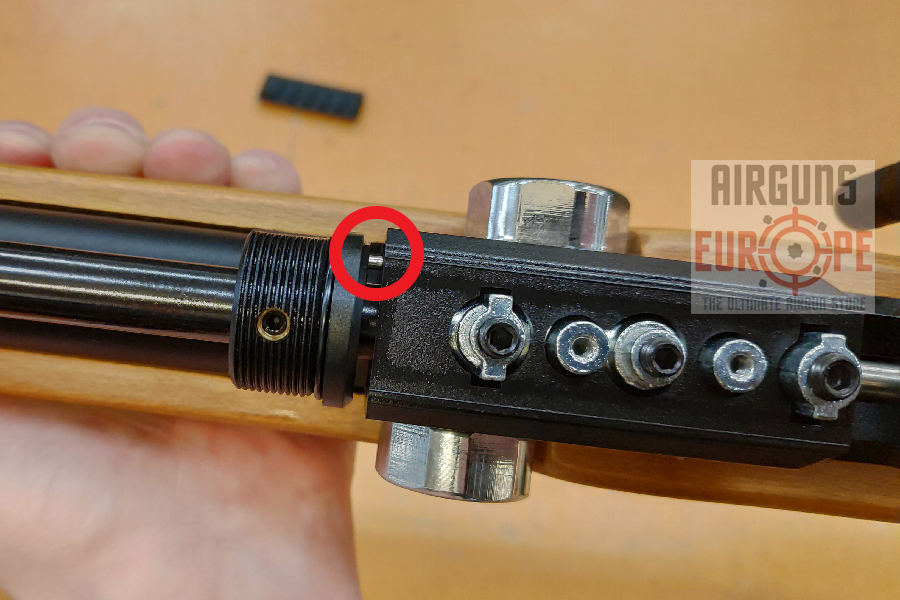
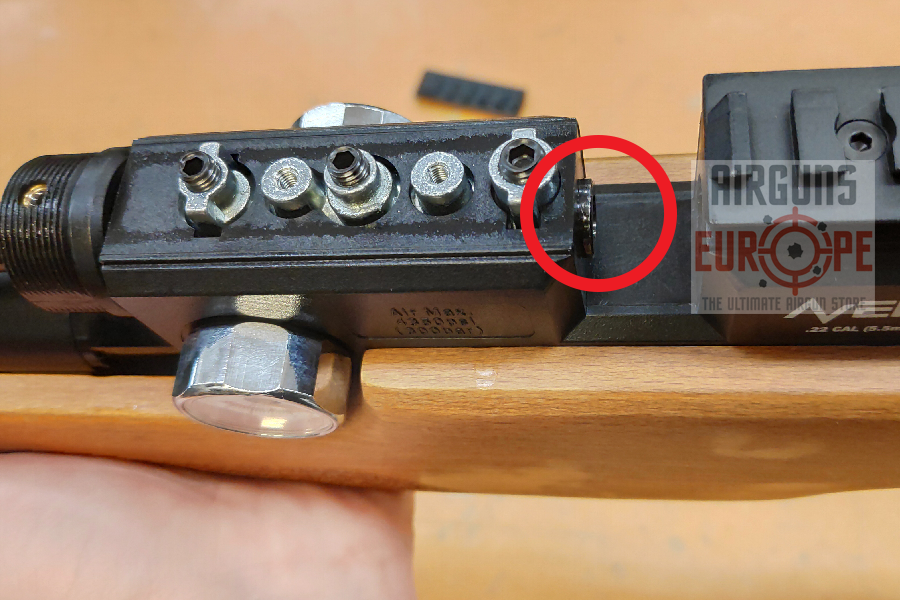
Step 2: Removing the barrel shroud
To do this, we first loosen the screws on the side of the barrel band.
Note: There might be a small platic ball behind the screw. Dont lose this when removing the shroud.
After this, the shroud can the unscrewed.
This can be quite tight, but will loosen with a little love.
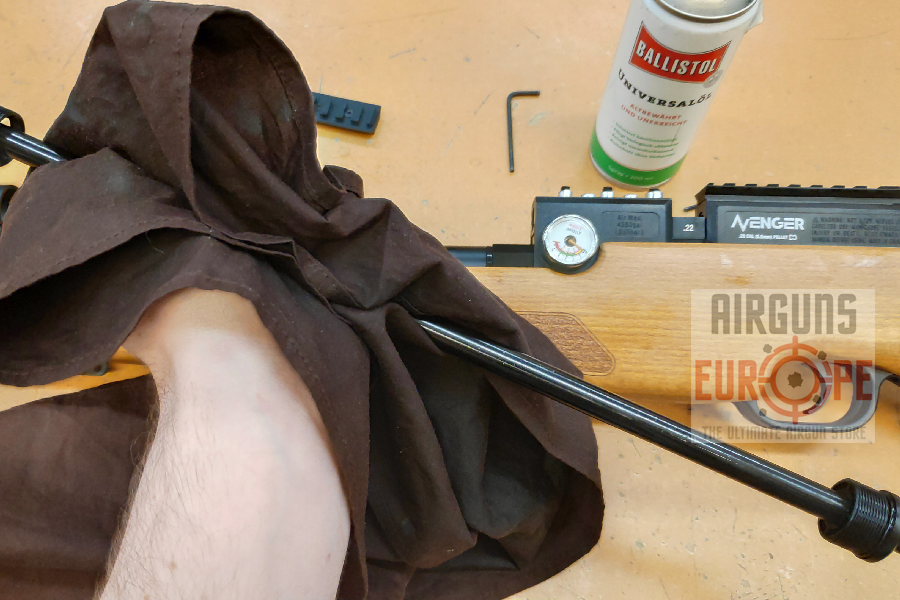
Step 3: Removing the barrel
With the shroud out of the way, the barrel can be pulled out of the breach.
Now with the barrel out of the way, any obstruction can be fixed.
Dont forget to rub the barrel with some gun-oil before reinstalling it.
This will prevent rust/corrosion caused by the nasty oil/grease from your hands.
Step 4: Remounting the barrel
The pin at the rear of the cap of the shroud can be used to index the barrel correctly.
Small tip: Use the magazine or single shot tray to make sure that the barrel isn't pushed in too deep.
Thats all!
Now just retighten the screws, reattach the shroud back in place, place the rails, and enoy the rifle.
Comments
Be the first to comment...