How to install the PP750 Accessory rail
- Posted on
- By Dirk
- Posted in Custom shop, PCP, Tutorial
- 0
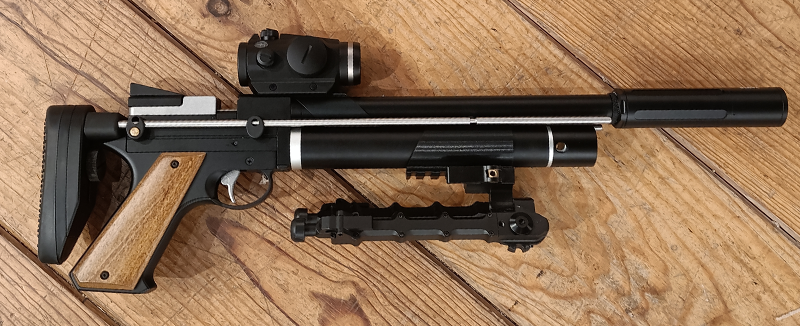
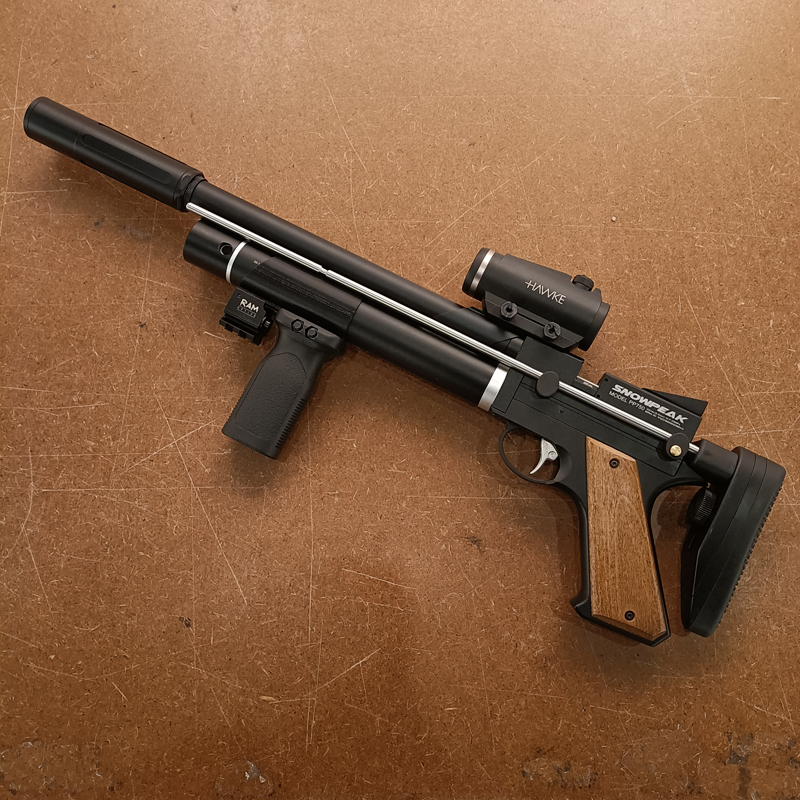
The Artemis PP750 is a nice compact PCP air rifle/carbine that has interesting features.
One thing it lacked, however, was a way to mount bipods, grips, or lights.
Thanks to our new accessory rails, this is a thing of the past!
In this blog we explain how to install it.
PP750 Accessory rail product page.
Mounting the PP750 Accessory rails:
Unlike many other designs, this rails holds itself in place with a clamping screw.
A plate between the screw prevents damage to the air tube.
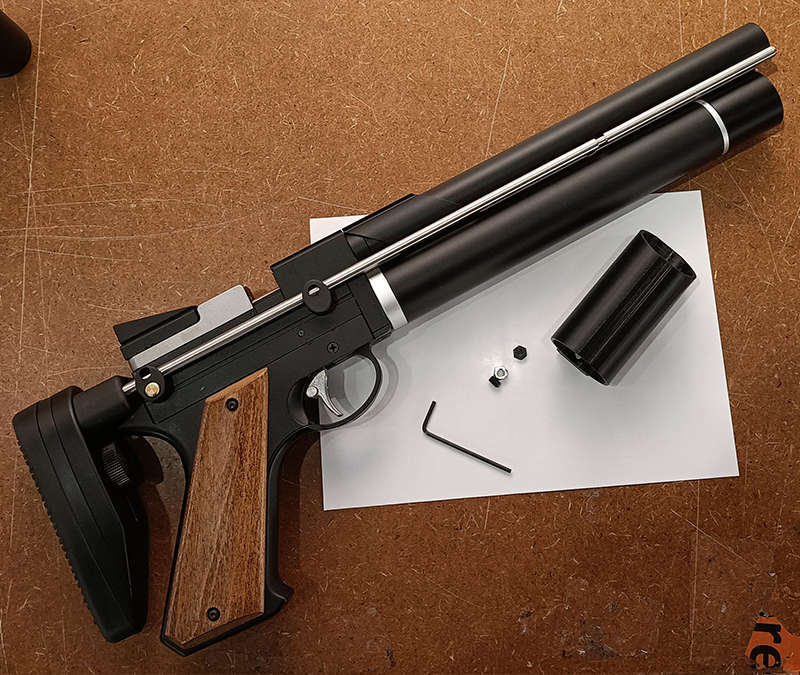
What do you need:
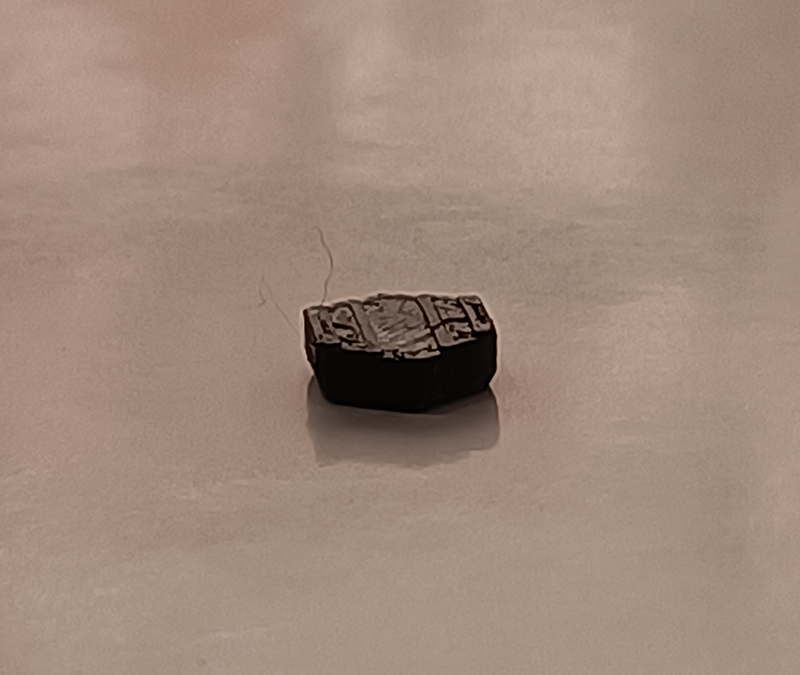
The rail comes with a nut, set screw, and buffer plate.
The only thing you need is a 2mm hex key and a sharp eye.
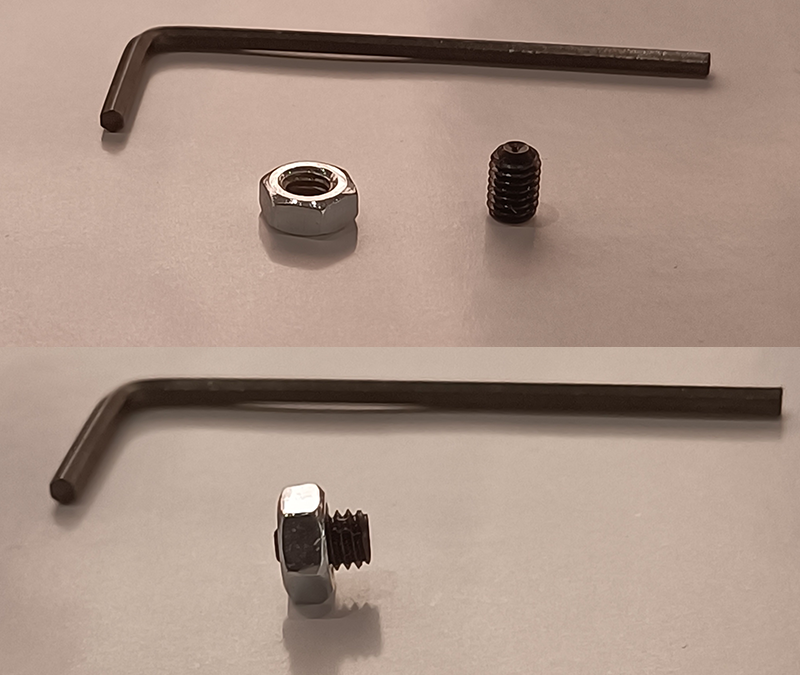
Step 1: The nut & the set screw
Screw the setscrew into the nut. Take care not to let it protrude on the other side.
Step 2: Assemble the rail
On the inside is a hexagonal hole. First you will insert the nut and screw.
Take care to keep the side with the hex key down.
Next is the buffer plate.
Take care to place the side with the round contours up.
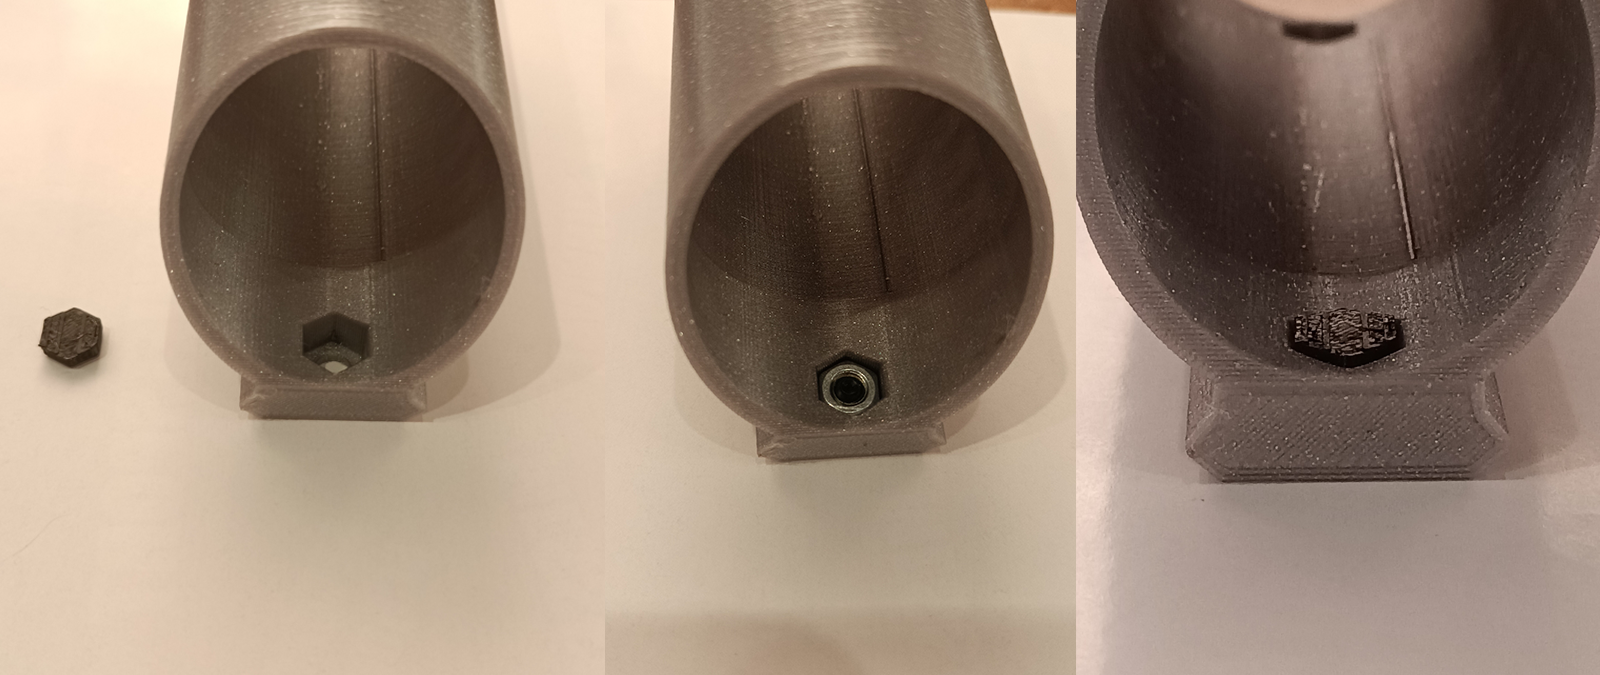
Round contours on the top will follow the air tube.
Step 3: Placing the rail on the PP750
Next, we slide the rail onto the air tube of the PP750. Carefully to not drop the screw or plate.
After that, we tighten the setscrew until the rails is firmly in place.
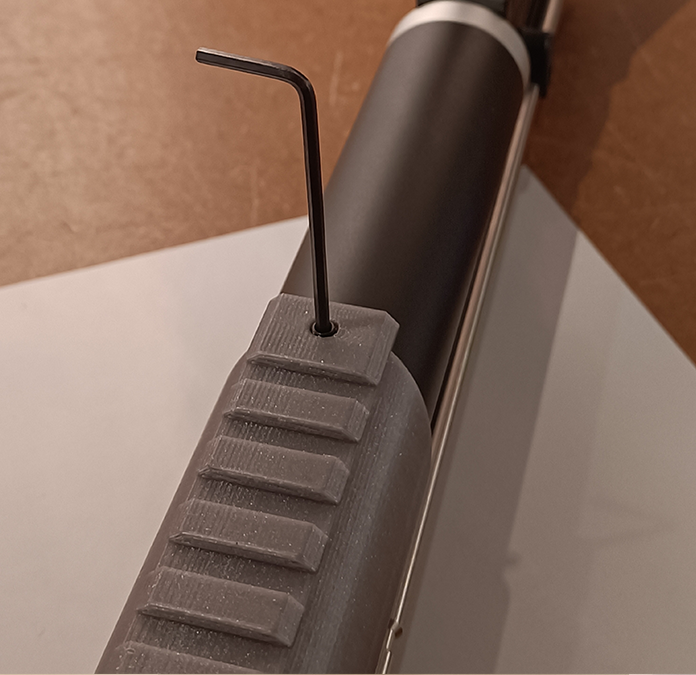
That's it!
Now you can attach any accessory with 22mm picatinny rails that you want!
Comments
Be the first to comment...